Defender 110 - Installing a UHF Radio
A UHF radio is a very useful piece of equipment for keeping in touch with other vehicles when travelling off road. It helps to let others know about the track ahead and when you or others have cleared obstacles and it is the next persons turn to give it a try.
Many 4×4 clubs require you to have access to a UHF radio before they allow you to attend any of their trips. Most can lend you a hand held radio if you do not have one of your own.
In Australia, there has been a recent change in how the available frequencies have been split for using UHF radios. This has allowed the creation 80 available channels compared to the old 40 available channels. This sounds good but if you have an old 40 channel radio and you are talking to someone on a newer 80 channel device, they may sound very quiet which is caused by how the frequencies are split up on the newer radios.
I decided to remove the UHF radio that was originally installed in my Discovery 2 before it was sold. I was very happy with the performance of this radio and decided to fit it into my Defender.
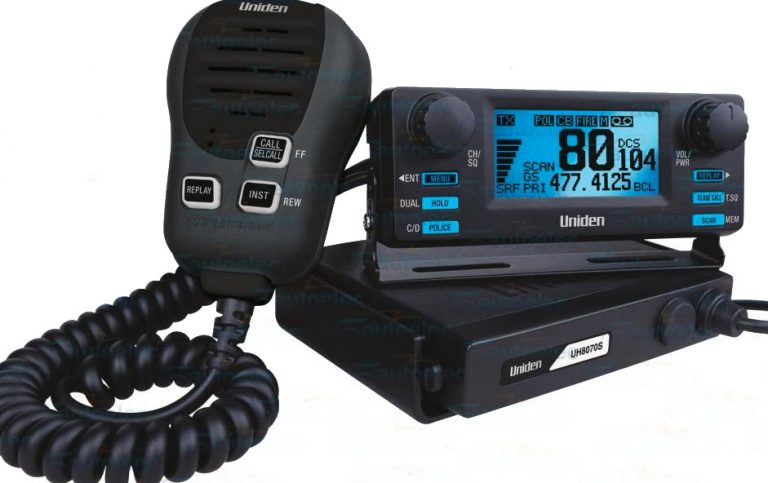
The radio that I have is a Uniden UH8070S.
This is a headless unit that gives you a few more options when it comes to mounting the radio. The receiver itself can be installed out of the way leaving only the the small display / control panel and the Microphone.
This is a mid range radio and has some very good features for the money. It is a few years old now and has probably been superseded by a newer device but I am happy with the one I have.
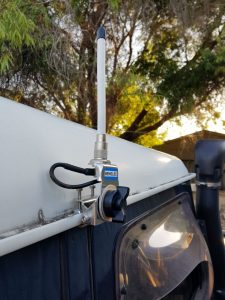
In the past, when I have installed UHF radios, I have always mounted the aerial on the bull-bar. During a Land Rover Club meeting there was a presentation by the shop where I bought my radio from. They suggested that the very best place to mount the aerial was up high. I decided to give this a go and mount it in the rain gutter just above the drivers door. With the extra height, I decided to use a rubber quarter wave aerial for normal use. I also have a wire half wave aerial that will hopefully give better range when used.
A UHF radio is a very useful piece of equipment for keeping in touch with other vehicles when travelling off road. It helps to let others know about the track ahead and when you or others have cleared obstacles and it is the next persons turn to give it a try.
Many 4×4 clubs require you to have access to a UHF radio before they allow you to attend any of their trips. Most can lend you a hand held radio if you do not have one of your own.
In Australia, there has been a recent change in how the available frequencies have been split for using UHF radios. This has allowed the creation 80 available channels compared to the old 40 available channels. This sounds good but if you have an old 40 channel radio and you are talking to someone on a newer 80 channel device, they may sound very quiet which is caused by how the frequencies are split up on the newer radios.
I decided to remove the UHF radio that was originally installed in my Discovery 2 before it was sold. I was very happy with the performance of this radio and decided to fit it into my Defender.
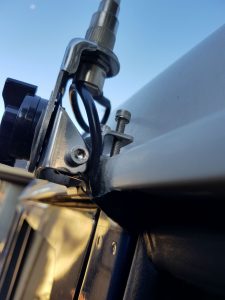
The aerial gutter mount I decided to use is manufactured by Benelec and allows the aerial to be rotated flat along the gutter if you are passing under overhanging obstacles.
By ensuring the fixing screw is only loosely tightened, it will rotate the aerial rather than breaking it in the event of hitting hit against an obstacle. This is a much cheaper option than buying a new aerial.
Once mounted to the gutter mount, the cable is run under the door seal at the top rear of the driver’s door opening. It is then passed behind the trim on the centre pillar until it reaches the level of the floor. I then ran it along the floor panel until I reached the bottom of the centre cubby box. It was then routed through the cubby box wall so it was available to where I mounted the main radio unit.
As the radio is a headless model, I decided to mount the Receiver unit in the centre cubby box beneath a false floor that I made. This is shown below.

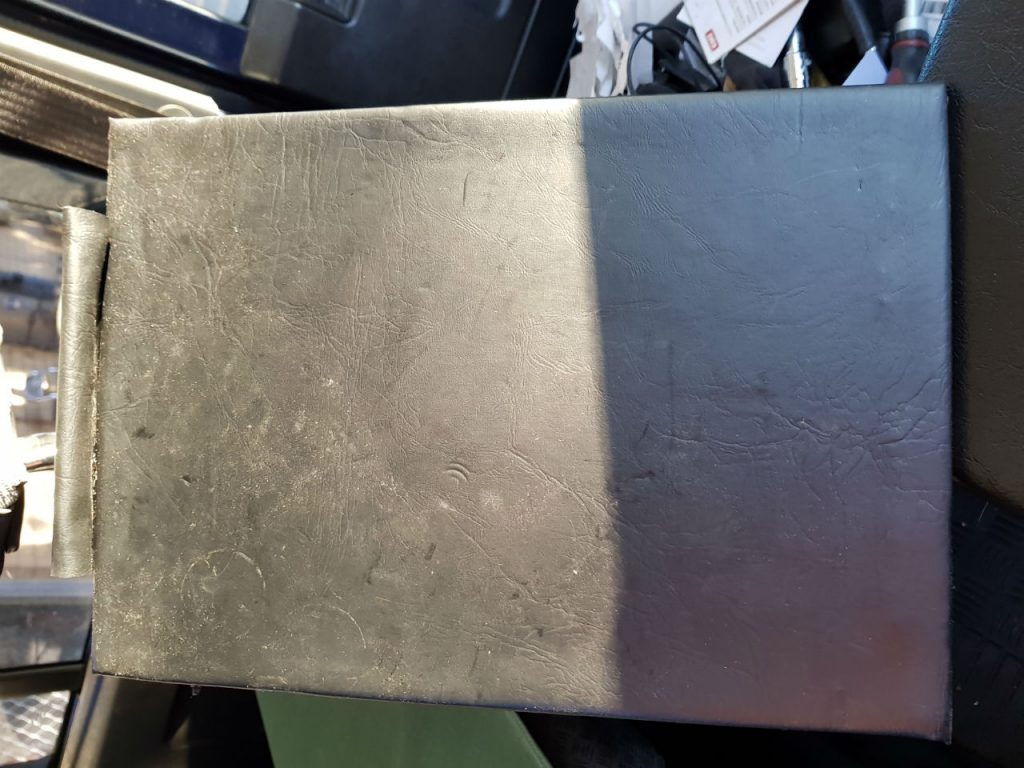
The false floor was made from a piece of 5mm thick plywood that was the same size as the original floor of the cubby box. It was covered with black vinyl to match the rest of the interior of the box.

The radio was mounted to the original floor of the cubby box.
It was given fused power from the auxiliary battery located below the passenger seat.
It was then connected to the aerial lead that was fed to this location in the earlier step described above.
Wooden blocks were cut to give support to the false floor. These can be seen in the picture to the right. They provided ample room for air to circulate around the radio for cooling etc.
The display unit and microphone was fixed to front of the cubby box and the cables routed back to the main unit where they were securely connected and secured to prevent unwanted rattling noises and so on.
This position gives good visibility to the controls and does not interfere with the operation of the gears. It is also out of the way and helps to protect the head unit from damage.
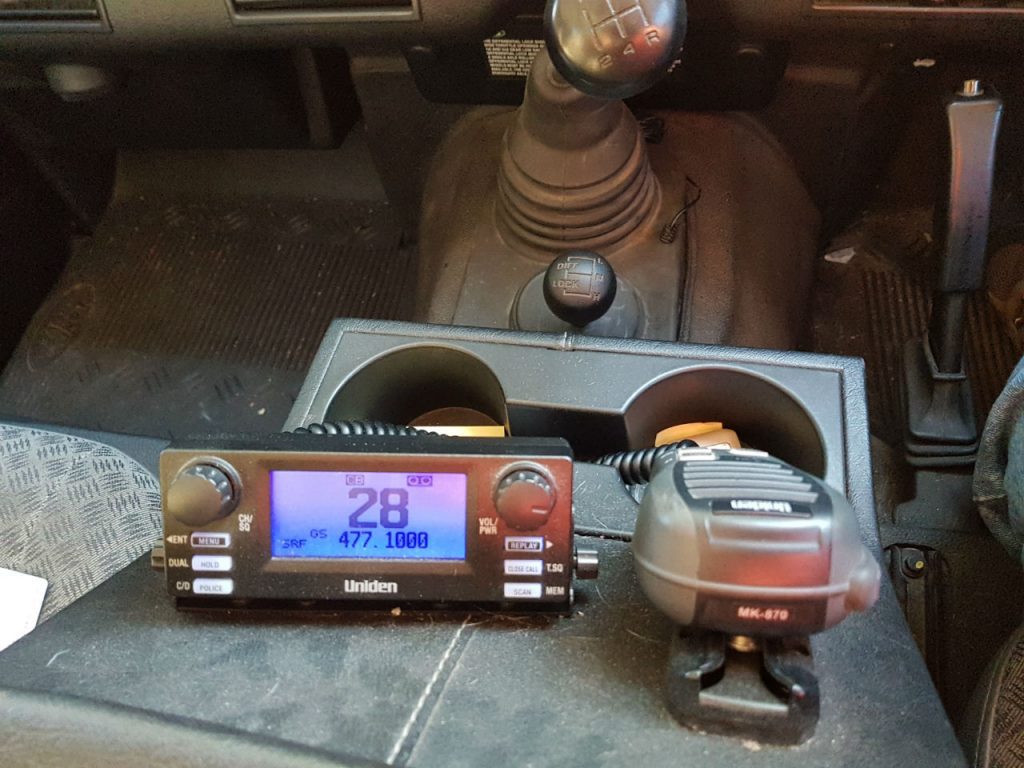

The false floor was fitted into the cubby box. I was very happy with the result. As the false floor is quite a tight fit, you would not think there is anything beneath it.
So far, the radio has performed very well in this position. There have been no overheating issues and as there is a second speaker in the microphone, you can hear it just as well as if it was installed in the dashboard. There is also an option to install a remote speaker that is attached to the recevier if this does ever becomes a problem.
