Defender 110 - Front Suspension Upgrade
When I bought my 110, I knew that the suspension had definitely seen better days. Whilst the stuff that was installed was still sort of doing the job, there were regular loud clanks and bangs coming from the suspension going over the rougher parts of the road. I certainly would not have liked to have taken the car off the tarmac with the suspension that was fitted on the car when I bought it.
I have used both Old Man Emu and Terrafirma suspension in the past. I do not have a preference between the two. For the Simpson Desert trip, it was recommended fitting Terrafirma gear to my Discovery 2. I did this and had very good results. With this trip still fresh in my mind, I decided to fit the Terrafirma options. You do get some more options with the 110 when compared to the Discovery2.
Fitting the suspension is a fairly straight forward task. I read the relevant bits of the workshop manual and watched a few videos on YouTube until I felt confident in doing this work. The following steps show how I went about changing over the front suspension, this information is not meant to be used by others as a guide on how to perform this upgrade, it just purely documents what I did to my own vehicle. I found this work so much easier to do compared to doing the same task on the Discovery 2. Working on the 110 in general seems to be much easier.
As the car is to be jacked up and the wheel removed, the following basic steps were taken to make sure the car is as safe as possible during this work. Check your own car’s documentation to make sure you are following all the steps necessary if you are performing this work yourself.
What I did was:
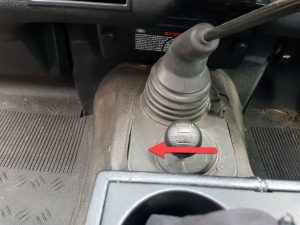
1). Select center diff lock and make sure the dash light comes on.

2).Chock the rear wheel, as the front ones are being worked on.
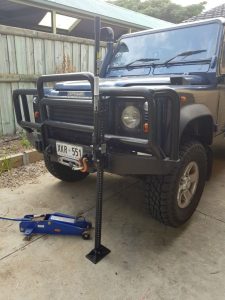
3). Jack up the front of the car.
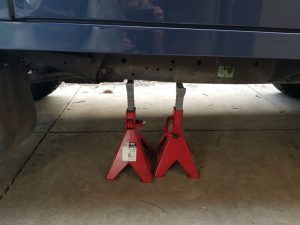
4). Support the car with axle stands securely placed on the chassis.
Once the car is jacked up and the wheel removed, a trolley jack is used to take the weight of the front axle on the side of the car that you are working on. As the old suspension was examined closer it became apparent that I had made a good choice in replacing it.
I could not see any brand marking on the old suspension components so I do not who made them.
I have receipts from the old owner and it was less than three years since they were installed on the car. Hope the new stuff does better than this.
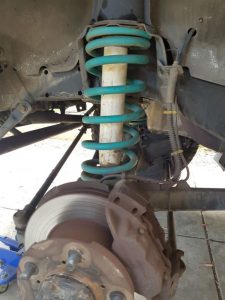
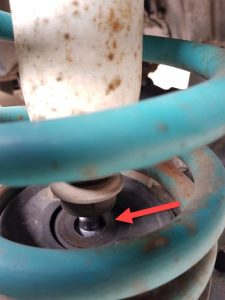
Everything about the old suspension looked tired. The rubber bushes looked worn at best. In the case of the passenger side, it was completely missing shown by the arrow to the left.
At least this did explain why the suspension was making noises.
In the engine bay the trim that covers the top of the damper was removed. By using a socket and a pair of large pipe grips, the top bolt that secures the damper was removed.
Again, the pipe grips were used to stop the damper spinning while the bottom fixing nut was removed. When it was free, the old damper was removed from inside the spring by pulling it up through the hole into the engine bay.
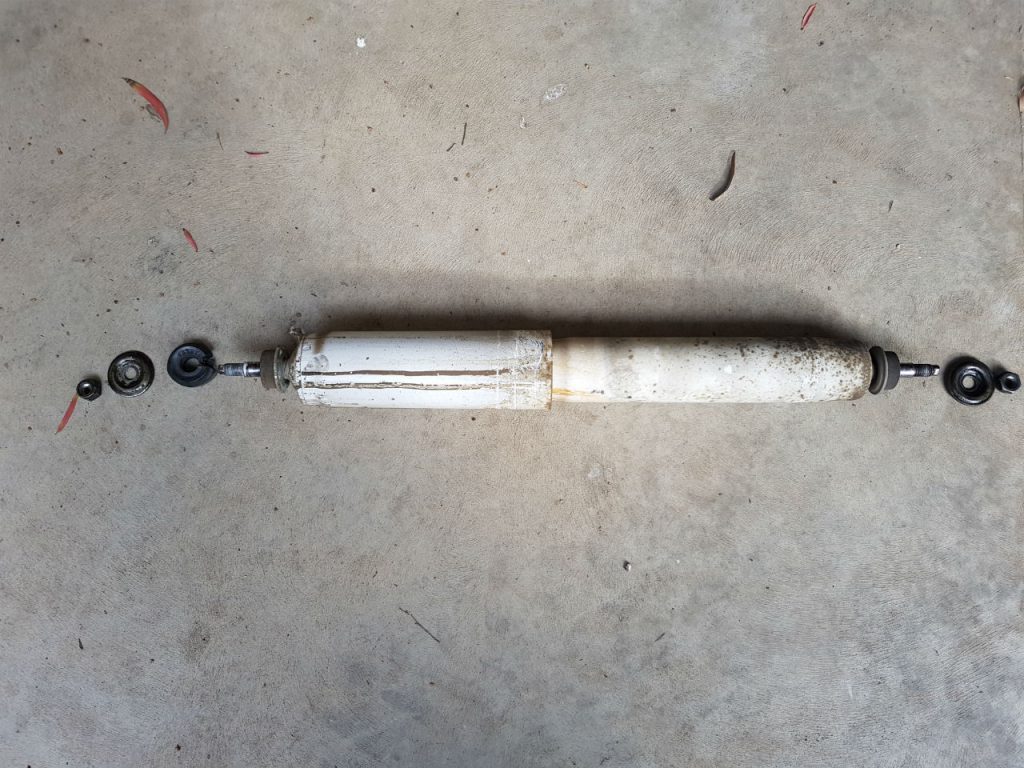
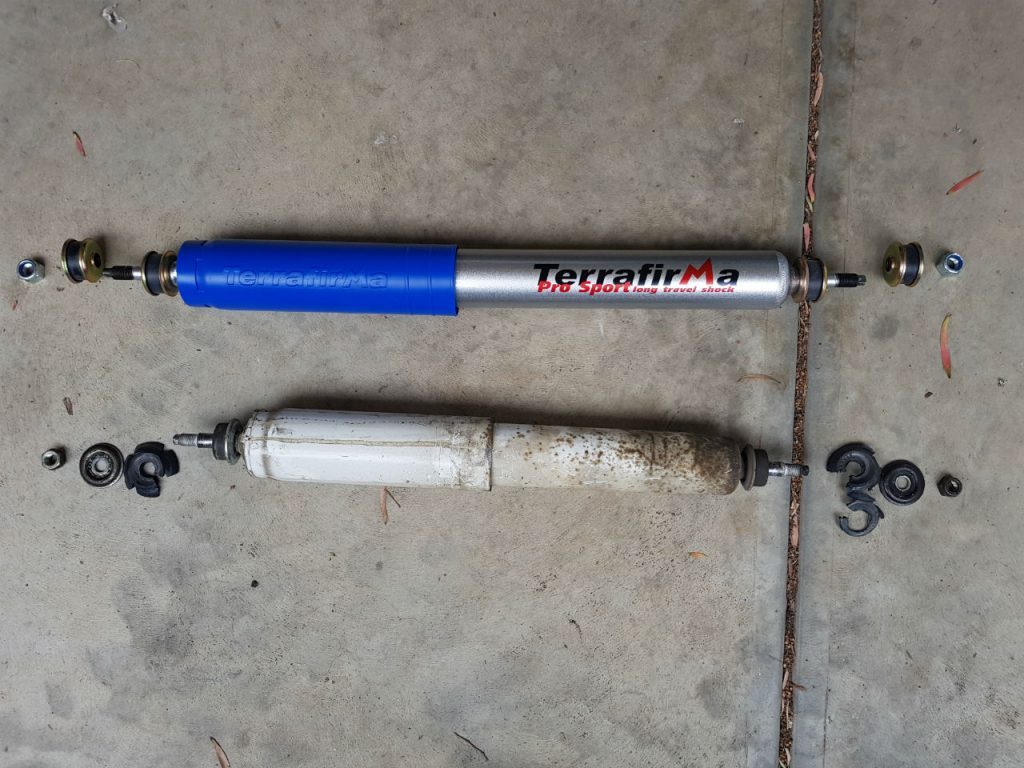
As can be seen on the picture above-left, the old damper looked well past its sell by date. There are marks running down it where it looks like it had been leaking fluid. The picture to the right above shows just how badly the rubber components have deteriorated
In the picture above-right, you can also see the difference in size between what looks like the stock height of the old damper and the 2” lift provided by the Terrafirma Pro Sport Long Travel Shock that I decided to fit on the front.
Once the old damper was removed, I gently lowered the axle by the letting the trolley down ever so slowly. After a while, the axle drops down enough to allow you to manhandle the spring from its mounting.
Take care doing this as springs can hold a lot of energy.
In my case it was very easy to remove the old springs. This was probably due to them being very worn.
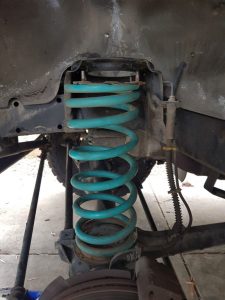

In this picture, you can see the differences in the old and new springs.
It is clear that the silver Terrafirma TF015 spring is much higher than the old one that was just removed. This is to compliment the increased height of the new dampers that will be fitted.
The spring was coaxed into position and the new damper was installed through the same hole the old one was removed from. All the nuts were tightened to the correct torque value indicated in the workshop manual.
The new Terrafirma gear looks good and will hopefully perform as well as they did on my old Discovery 2.
The trim that was removed in the engine bay was replaced. The tire was fitted and the car was lowered to the ground. The wheel nuts were tightened again with the weight of the car on them and this process was then repeated on the other side of the car.
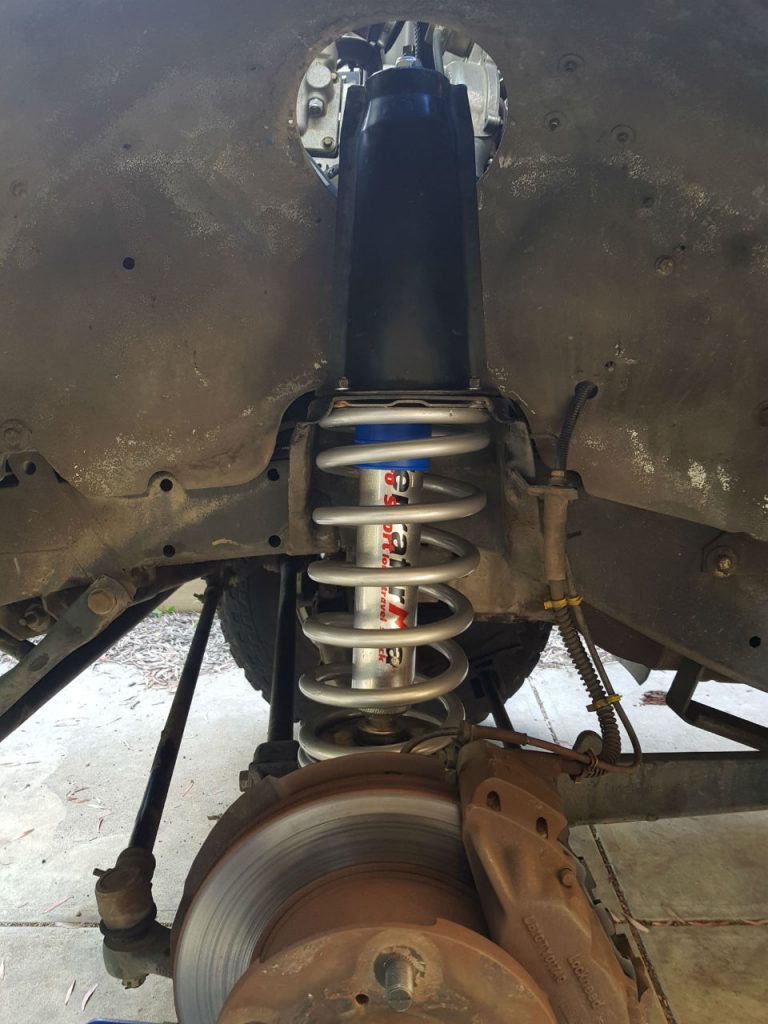
This upgrade gave immediate results. Replacing the old components not only stopped a lot of the banging and clattering that I had almost gotten used to but there is no doubt that it also made the car a lot safer as I am positive the old suspension was near to its failure point.
I was going to wait a while before replacing the rear suspension but looking at what the front was like, replacing the rear suspension became an urgent task.
Having run the suspension for around six months after it was replaced at each end of the car, I cannot fault the choice I made selecting Terrafirma again. The car is much better handling when driving on the road and the off road driving I have done since the change presented no challenges.
